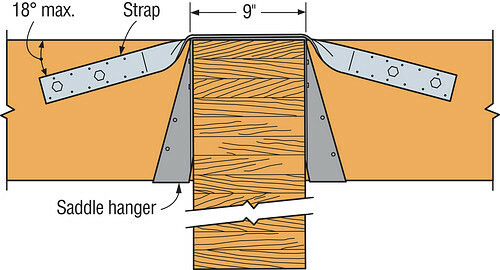
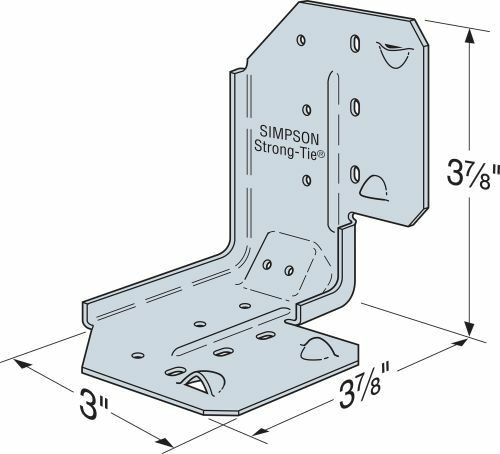
Description
The BVLZ brick veneer ledger connector provides a new code-compliant, tested solution for safely adding a deck to an existing house with brick veneer exterior. It attaches a wood ledger to the framing through the veneer. This patent-pending connector kit provides a viable alternative to building a free-standing deck, and it installs without having to remove or replace large sections of brick veneer.
The BVLZ brick veneer ledger connector kit includes a steel ledger plate, a compression strut, installation guide, two 14" Strong-Drive® SDWH Timber-Hex HDG tension screws and six Strong-Drive SD Connector shear screws. It's designed so the two tension screws pass through the mortar into the structural framing, and the compression strut transfers compression forces from the ledger plate to the rim joist. The system enables the ledger to hang freely without bearing on the brick veneer.
Key Features
- Allows for drilling through the mortar joints
- Enables inspection/approval by building departments in a retrofit construction application
- Accommodates a wide range of air gaps and brick sizes
- Minimizes penetrations through existing exterior water barriers
Material
- 12 gauge
Finish
- Connectors — ZMAX® coating; fasteners — SDWH27, Class 55 HDG; SD9 double-barrier coating
Installation
- Use all specified fasteners. All fasteners supplied with connector.
- Complete installation instructions provided with each kit.
- Measure where each ledger plate will be positioned on the veneer.
- At first location, align the center hole of installation guide with the mortar joint in the brick veneer. Drill through the center hole using a hammer drill and a 1 1/8" masonry drill bit.
- Drill two 40º upward-angled holes using the guide and 1 1/8"-diameter drill bit. Repeat for each plate location.
- Mark the placement of each plate on the ledger board. Using installation guide, drill 1 1/8"-diameter hole horizontally through the center hole and mark the two angled-hole locations. Then drill two 1 1/8"-diameter angled holes at each marked location on the ledger.
- Thread the compression strut into the back of the ledger plate to the end of the threads. Install the left-most and right-most plates on the ledger and attach each with six Strong-Drive SD Connector screws (provided).
- Place the ledger board against the brick veneer and install two 14" Strong-Drive SDWH Timber-Hex HDG screws in each of the plates. Push downward on the drill while driving to ensure the screws are snug against the gusset channel and maintain a 40° angle while screwing into dry, 1 1/2"-wide minimum rim.
- Rotate compression struts with pliers until they bear tightly against the framing. Install the remaining BVLZ connectors along the length of the ledger.
Load Tables

- Rim board must be designed to receive applied moment equal to: (Gap) x (Applied Load)
- When cross-grain bending or cross-grain tension cannot be avoided in the Rim, additional reinforcement to resist such forces shall be considered by the Designer.
- The BVLZ does not replace the need for lateral load resistance per 2018 IRC Section R507.9.2.
- Wet service factor has been applied to BVLZ connection to deck ledger.
- Weatherproof ledger as required by code.
- 2x is 1 1/2" wide, minimum. Load values for sawn lumber are applicable to 1 1/2"-wide structural composite lumber rim with equivalent specific gravity.
- Wood Structural Panel (WSP) is OSB or plywood with a maximum thickness is 19/32".
- Fasteners: SD screws are Simpson Strong-Tie® Strong-Drive® screws. SDWH screws are Simpson Strong-Tie® Strong-Drive® Timber-Hex HDG screws. For additional information, see Fastener Types and Sizes Specified for Simpson Strong-Tie Connectors.


